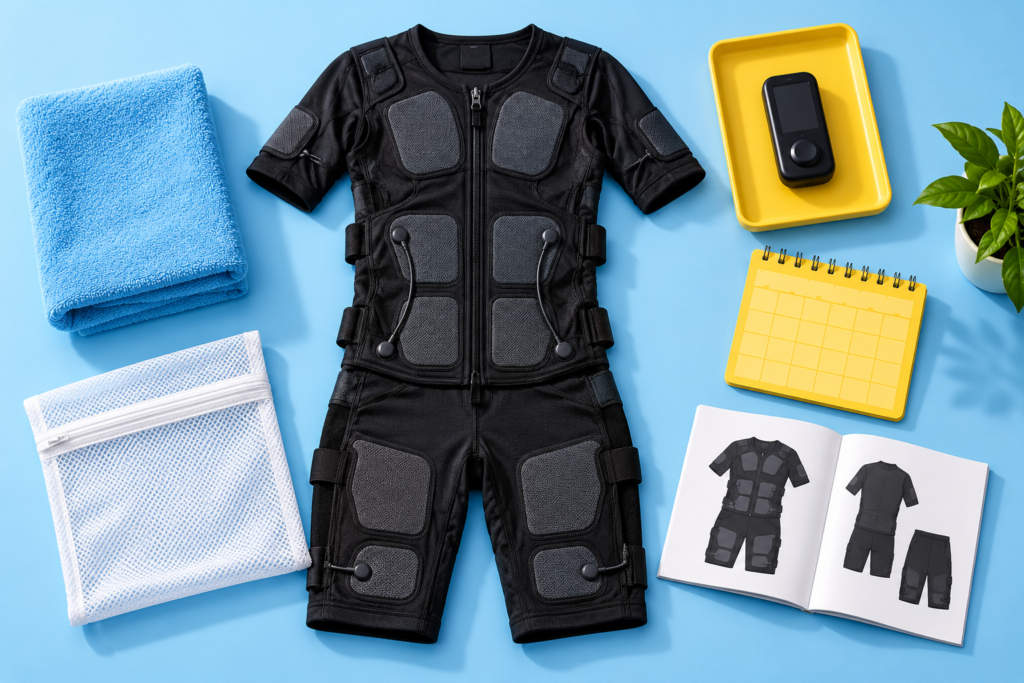
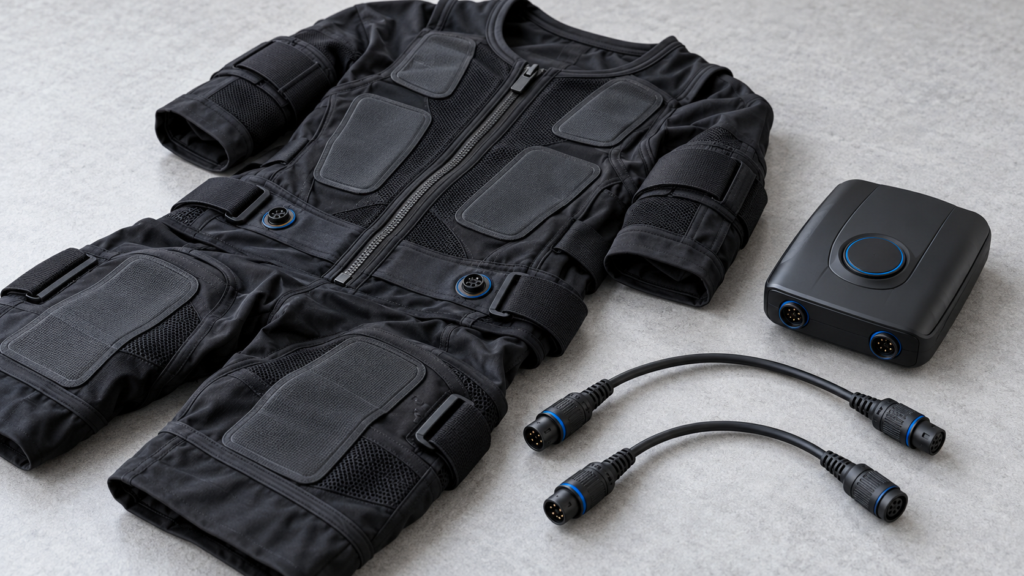
A workout should not depend on holding a plug at just the right angle. If stimulation cuts out when you squat, a connector shifts, or a cable looks worn, the next step is to stop and inspect the equipment.
EMS cables and connectors sit where flexible clothing meets electrical hardware. Depending on the system, those connection points may experience bending, pulling, sweat, and handling during cleaning. Some faults are easy to spot. Others appear only when something moves.
Here is what to check, what to leave alone, and when a component needs to come out of service.
Make inspection part of your pre-session routine
Inspect EMS cables and connectors before every session, alongside your pre-session equipment check.
Start with output at zero. Turn off the device, disconnect it from charging equipment, and remove detachable electronics according to the manual. Lay the equipment on a clean, dry surface with good lighting.
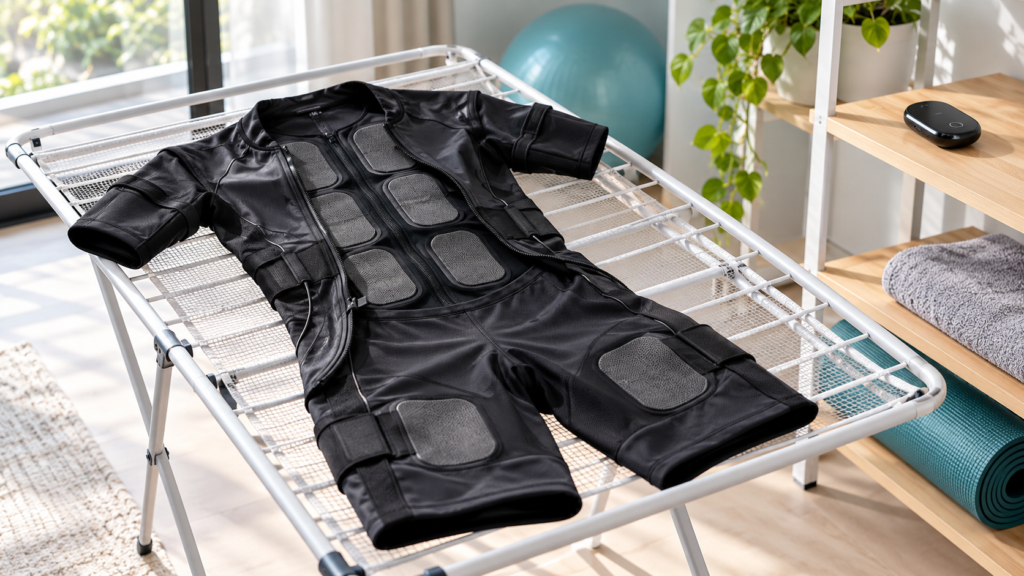
If a component is wet, follow its approved drying process before inspecting it further. Do not reconnect damp electrical contacts to test them.
Studios should also schedule documented inspections based on manufacturer guidance and usage. A shared suit needs a clear record of faults and service decisions.
Check cable insulation from end to end
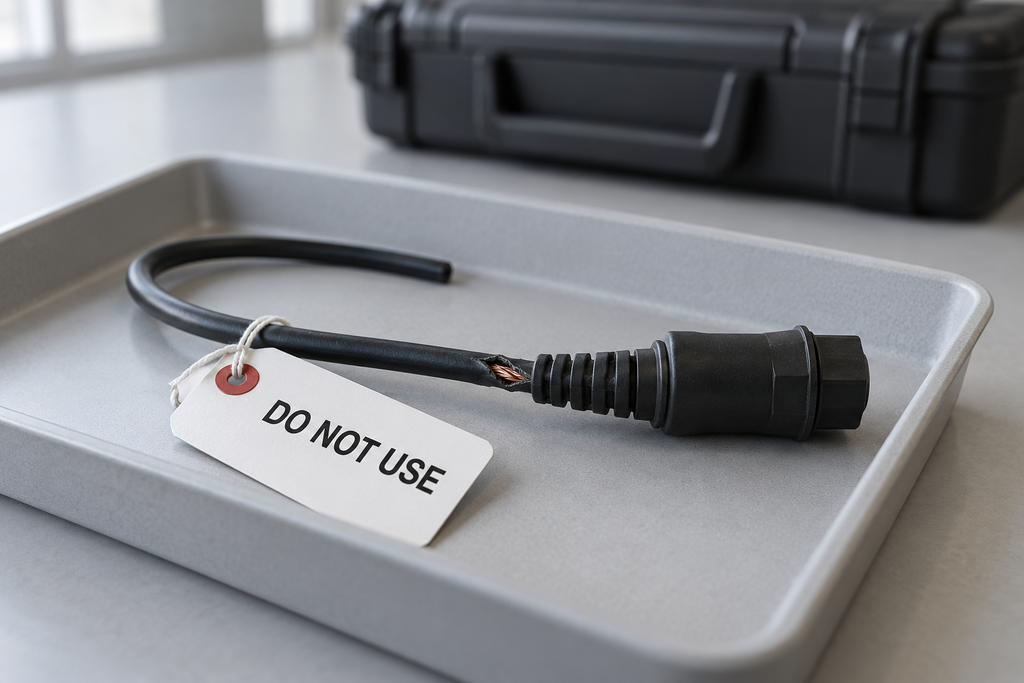
When examining EMS cables and connectors, start with the cable’s outer covering. Insulation should not have splits or worn areas that expose the conductor beneath it.
Look for:
- Cuts, cracks, abrasion, or flattened sections.
- Kinks that remain when the cable rests naturally.
- Unusual swelling or visible changes in shape.
- Exposed wire.
- Discoloration associated with heat or chemical exposure.
Inspect visually without scraping the covering with fingernails, sharply bending the lead, or pulling it taut.
Do not hide damage under household electrical tape. Covering a damaged area does not establish that the conductor inside is intact or that the component is safe to use.
Pay attention to strain-relief points
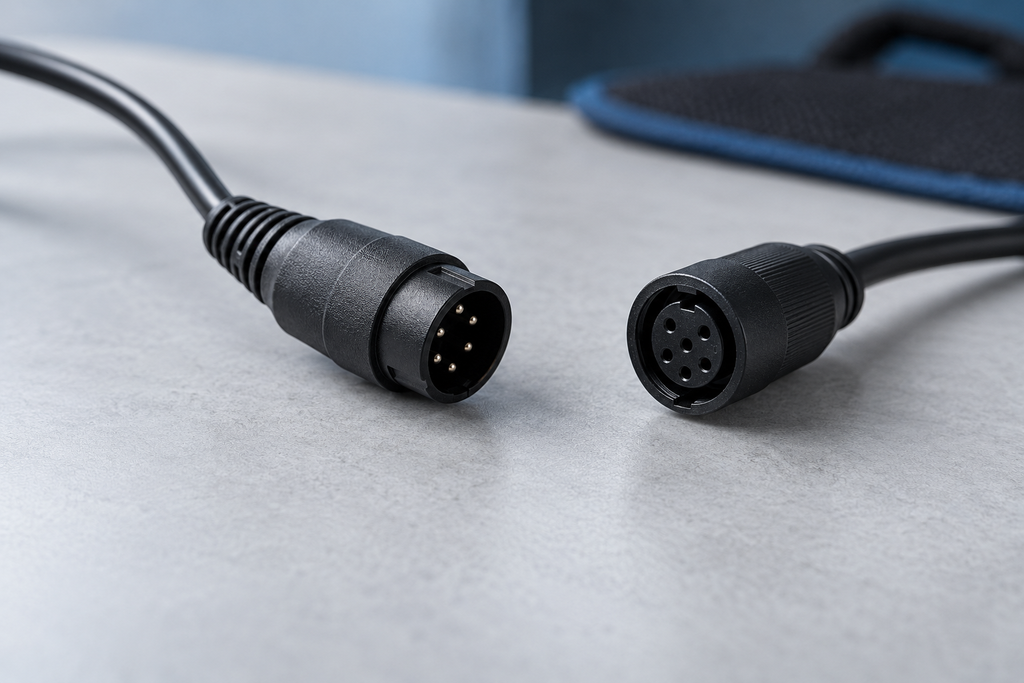
The flexible sleeve where a cable enters a plug or housing is called the strain relief. It helps spread bending forces across a short section rather than concentrating them at one point.
On EMS cables and connectors, check whether that sleeve has split, separated, or pulled away. Look for gaps where the cable enters the housing.
If a lead works only when held at an angle, remove it from use. Finding a position that restores output does not resolve the underlying fault.
Do not wiggle a suspect connection while stimulation is running.
Inspect plugs, sockets, and locking features
Check the accessible mating surfaces of EMS cables and connectors without inserting tools into sockets or opening housings.
Look for:
- Bent, missing, or recessed contacts.
- Cracked or loose housings.
- Residue, corrosion, or trapped debris.
- A locking feature that no longer engages.
- A plug that sits differently or requires unusual force.
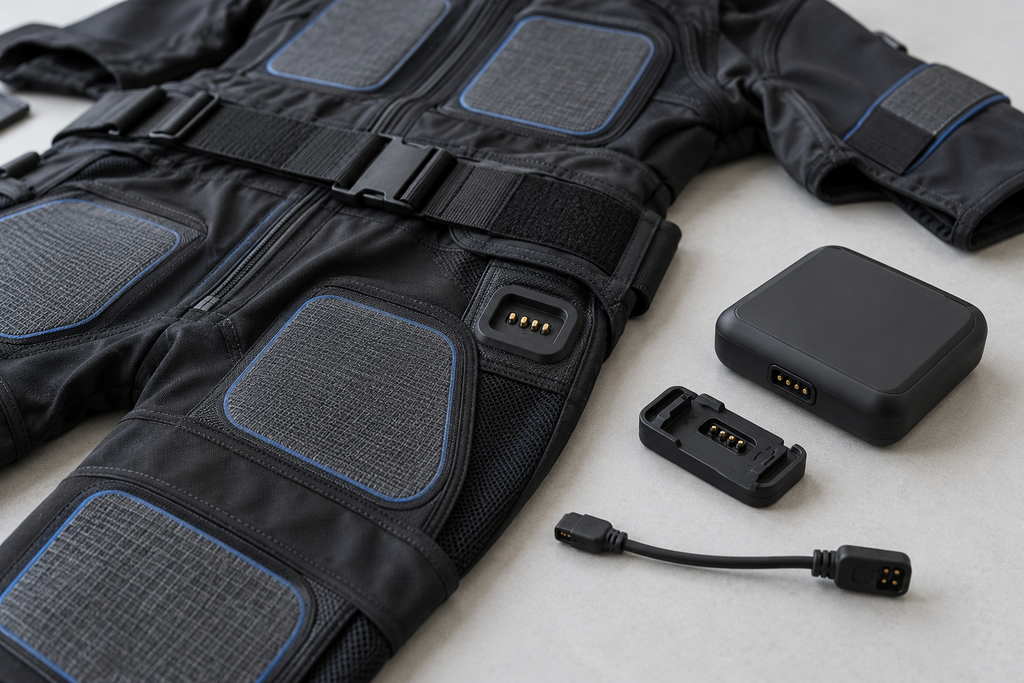
Some connectors use spring-loaded contacts that move by design. Compare their appearance with the manual or an undamaged component of the same approved model before deciding something is abnormal.
Do not straighten delicate pins with pliers. A contact that looks restored may still have damaged plating or alignment.
Examine garment snaps and contact pads
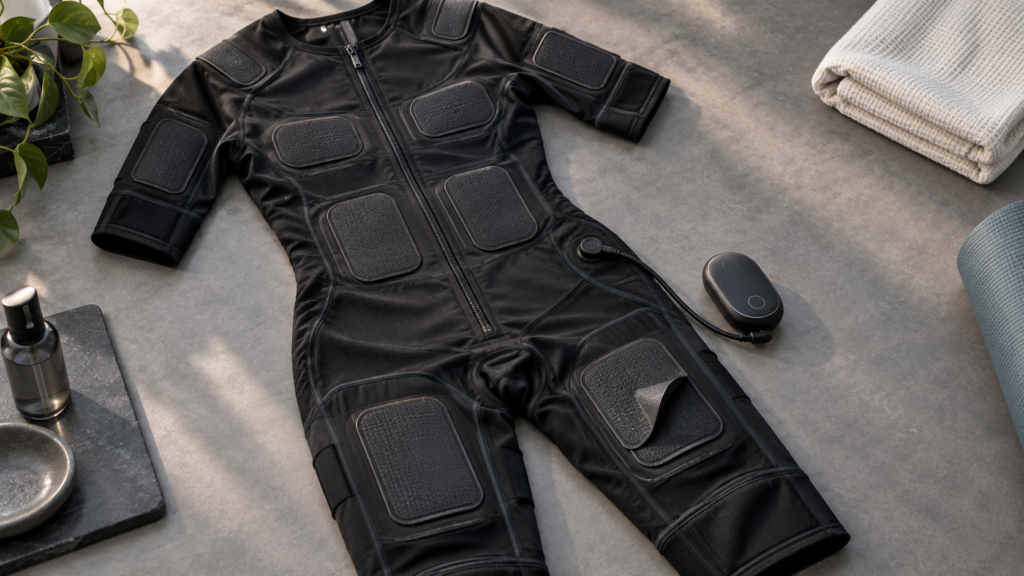
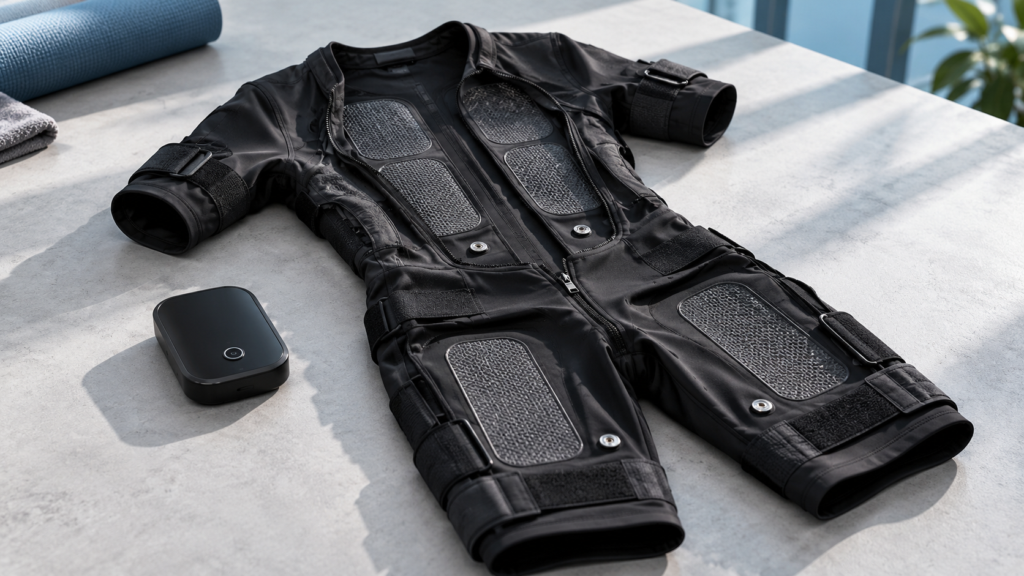
Even a system without external leads can have physical connection points between the garment and its controller.
When checking EMS cables and connectors, include snaps, magnetic contacts, and the surrounding fabric. Look for lifting, tearing, unexpected looseness, or separation around an attachment.
Check that electrode layers are not peeling near the connection. Avoid pulling on a snap to test its strength.
Use only the cleaning method specified for that component. For example, PEPPER’s Original manual permits careful wiping of connector pins with a dry rag. That instruction should not be treated as permission to use solvents, abrasives, or the same method on every brand.
Take movement-related faults seriously
A visual inspection may not reveal an internal break. EMS cables and connectors can look intact while producing an intermittent connection.
If a fault already occurred, record the movement involved. Useful details include squat depth, torso rotation, arm position, and whether the controller shifted.
Do not repeat the movement at workout intensity to reproduce the problem. Follow a manufacturer-provided diagnostic procedure only when it is intended for users and the equipment shows no damage.
Otherwise, keep the affected equipment out of use and describe the pattern to support. Our guide to mid-workout disconnections covers the broader troubleshooting process.
Separate a cable fault from poor electrode contact
Weak or uneven stimulation does not automatically mean EMS cables and connectors are defective.
Garment fit and electrode preparation also affect contact. TensCare’s Perfect EMS manual identifies both poor electrode connection and damaged leads as possible causes of an open circuit.
An open circuit means the intended electrical path is interrupted. It identifies a connection problem, but does not pinpoint its location.
After stopping the device, check fit and preparation against your manual. Do not add water, gel, or another product unless instructed.
These observations can help support investigate:
| Observation | What it may suggest |
|---|---|
| Output changed when a plug shifted | A possible connection or mechanical fault |
| Several electrodes on one channel stopped together | A possible shared-path fault requiring investigation |
| Contact loss coincided with garment movement | A possible fit or electrode-contact issue |
| An error persisted after approved contact corrections | A problem needing further troubleshooting |
| Visible damage was present | A reason to remove the component from use |
These are clues, not definitive tests. Swap parts only if the manufacturer confirms compatibility and permits that troubleshooting step.
Route wired leads without pulling or snagging
Correct routing helps protect EMS cables and connectors during movement.
Use the clips, channels, or attachment paths provided for the system. Leave the slack specified for movement without creating loose loops that can snag.
Avoid pulling equipment by its cable, tightly winding leads around a controller, trapping them in a case, or routing them beneath heavy equipment.
Support connectors so they do not swing into the floor. When disconnecting, follow the release method and hold the intended connector body rather than pulling the wire.
Clean and dry each component as instructed
Cleaning EMS cables and connectors starts with identifying what can be cleaned, how, and with which electronics removed.
A washable garment does not mean its controller or detachable leads can enter the wash.
For example, TensCare’s instructions describe wiping the device and leads with a damp cloth and mild soap solution, then drying them. PEPPER’s manual specifies a soft dry cloth for its power box. These examples show why one cleaning rule cannot cover every component.
Do not spray liquid into ports or reconnect damp contacts. If residue remains after approved cleaning, ask support what to do next.
Know when equipment must leave service
Remove EMS cables and connectors from use when damage or recurring faults make their condition uncertain.
Stop using the affected component for:
- Exposed conductor or cracked insulation.
- A cracked housing or visibly damaged contact.
- Corrosion or an unexpectedly loose garment snap.
- Unusual heat, odor, or heat-related discoloration.
- Recurrent connection errors that remain unresolved.
- Output that repeatedly changes with movement.
Do not resume because the symptom temporarily disappears. Keep equipment with unexplained faults isolated until support resolves the issue or authorizes replacement.
For a hot, swollen, smoking, or otherwise abnormal battery or controller, follow the manufacturer’s emergency guidance rather than handling it for further inspection.
Give support a useful fault report
A clear report can make problems with EMS cables and connectors easier to investigate.
Provide the model, component identifier if available, error message, affected channel, and what happened immediately before the fault. Include photographs of visible damage without powering the device.
List only the approved troubleshooting steps already completed.
In a studio, label and separate the component so another staff member cannot return it to circulation. Record the service decision and any replacement.
A software update cannot repair visible physical damage. If support identifies a software issue, use the official update process they specify.
The practical takeaway
Inspect EMS cables and connectors before training, with the equipment powered off and detachable electronics removed as instructed. Focus on insulation, strain reliefs, contacts, snaps, and faults associated with movement.
Do not tape, bend, scrape, or substitute parts to keep a session going. Use the manufacturer’s authorized service or replacement process.
This guide covers equipment inspection and is not medical advice. Consult your doctor about whether EMS is appropriate for you and follow the product’s health and training instructions.
Frequently asked questions
How often should I inspect EMS cables and connectors?
Check EMS cables and connectors before each session and after any event that could cause damage, such as a snag or drop. Follow the manufacturer’s maintenance schedule, including replacement intervals, and keep inspection records in shared settings.
Can I repair an EMS cable with electrical tape?
Do not treat tape as a repair for stimulation equipment. It can hide damage without restoring the conductor or connection. Ask the manufacturer whether the component requires authorized service or replacement.
Can I test a cable with a multimeter?
Only use a manufacturer-provided procedure appropriate to the component and your training. Do not improvise tests through a connected controller or garment. Never use your body as a continuity tester.
Why does stimulation stop when I move?
Possible causes include garment shift, electrode contact loss, or a cable or connector fault. Stop the device, inspect it, and follow official troubleshooting. Increasing intensity does not fix an interrupted connection.
Can I use a lead from another EMS device?
Only when the manufacturer identifies it as compatible and permits its use. A matching plug shape does not establish electrical compatibility. Obtain the correct replacement part for your model.
Does a wireless EMS suit still need connector checks?
Yes. Wireless communication does not eliminate physical contacts between the controller and garment. Inspect those attachment points, nearby fabric, and accessible electrode connections according to the manual.