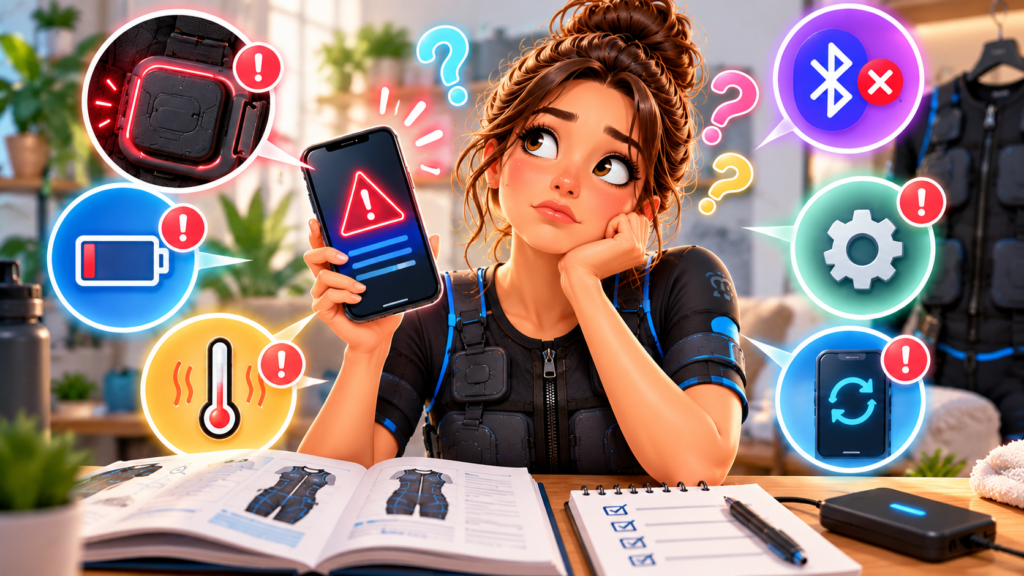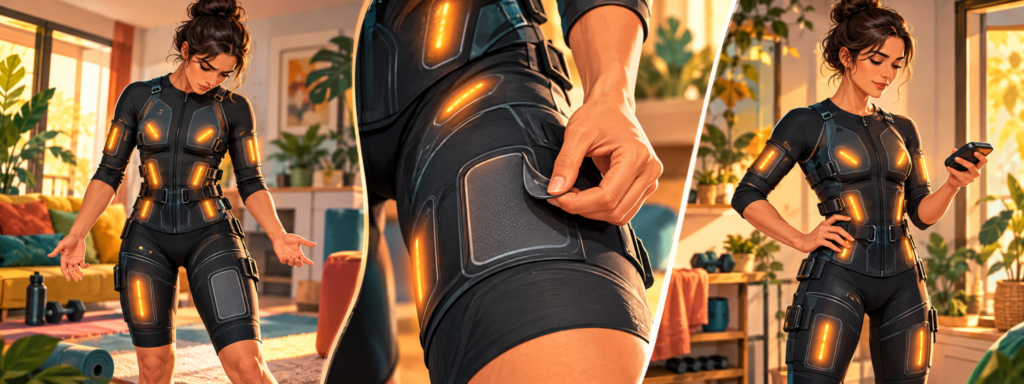
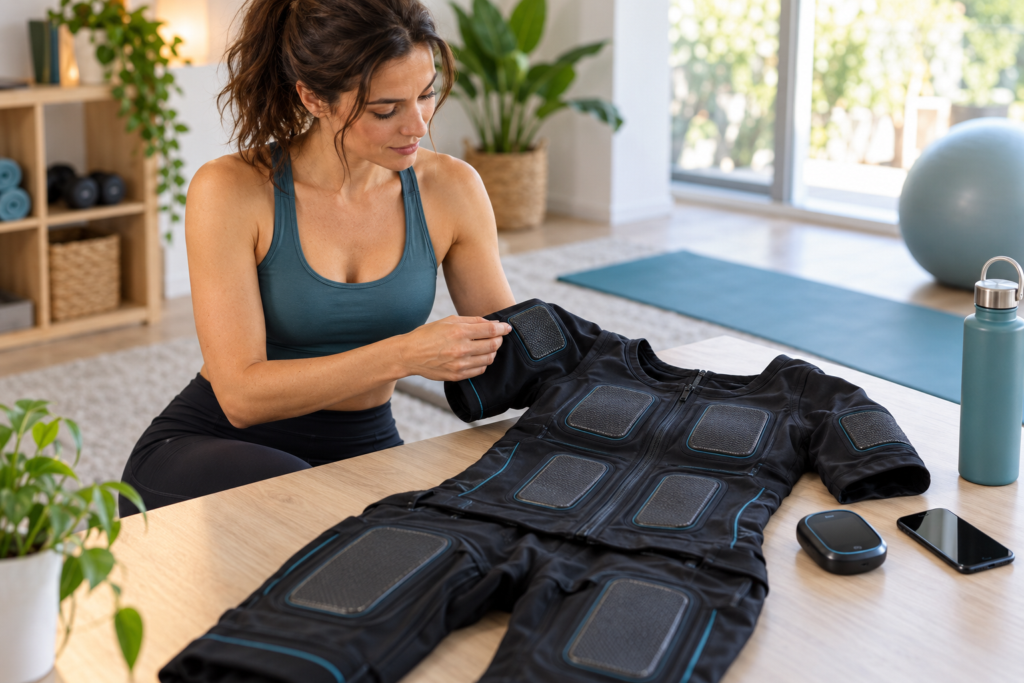
A pre-session check catches problems while intensity is still at zero. It should confirm that the user is ready, the garment is intact, electrodes have full contact, the controller is secure, and the stop function is accessible.
This is not a substitute for the device manual, health screening, or professional supervision. It is a repeatable sequence that helps users avoid beginning a session with an obvious fault.
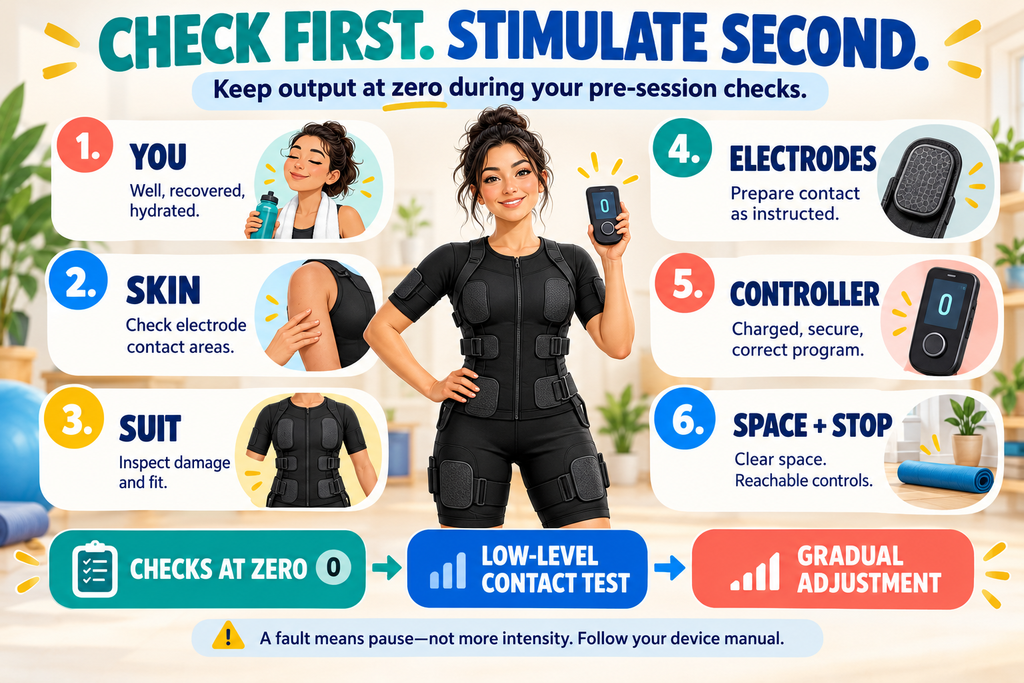
1. Confirm personal readiness
Do not start simply because the equipment is charged. Check for a new illness, fever, unusual fatigue, injury, skin problem, medication change, or health condition that affects eligibility.
Whole-body EMS guidelines emphasize health screening, careful introductory sessions, and close monitoring. Contraindications and medical questions require qualified guidance rather than self-experimentation.
If the user is not clearly well and eligible under the product instructions, postpone the session.
2. Check hydration and recent recovery
Follow the manufacturer’s preparation requirements. International WB-EMS guidance recommends attention to fluid intake and avoiding intense initial exposure, partly because unusually strenuous stimulation can produce substantial muscle stress.
Do not use dehydration, alcohol, severe sleep loss, or an exhausting previous workout as a reason to “test a lighter session.” Recovery status is part of readiness.
3. Inspect skin where electrodes will sit
Look for cuts, rash, significant irritation, infection, or another problem listed in the warnings. Remove lotions or oils when the manual requires clean skin.
Do not place stimulation over an area with altered sensation unless a qualified clinician has specifically assessed that use. The user must be able to report discomfort.
4. Inspect the garment
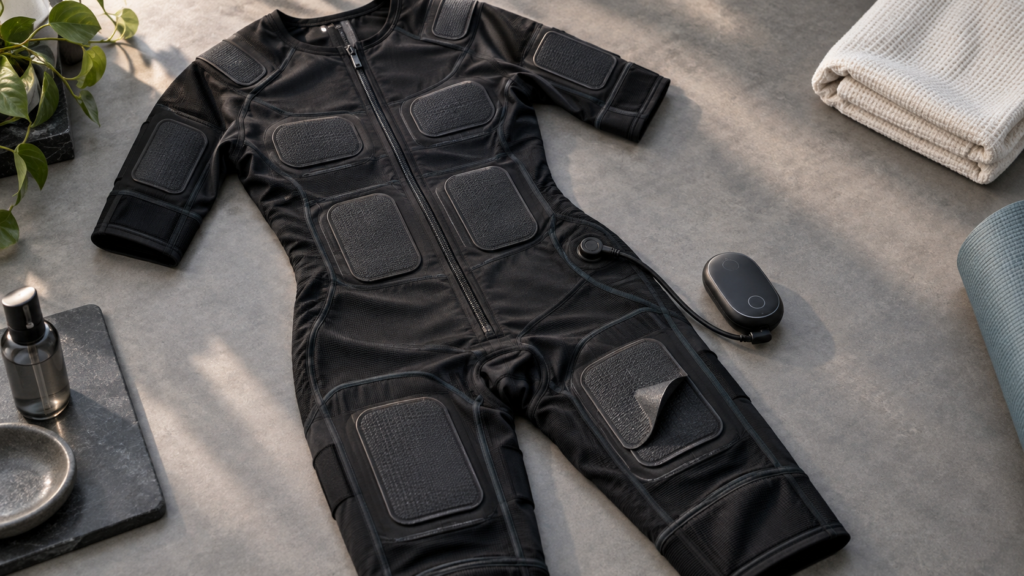
With electronics detached, check:
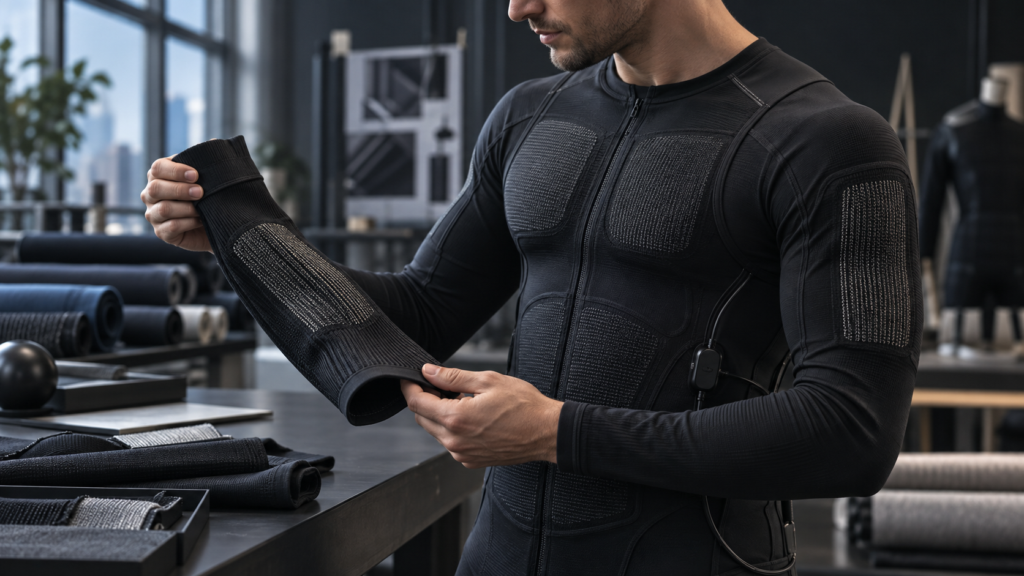
- Zippers, straps, and closures.
- Conductive panels for peeling, fraying, or residue.
- Seams around electrodes.
- Cable routes and strain points.
- Snaps and controller contacts.
- Signs the suit is still damp from washing.
Do not use a garment with exposed conductors, damaged insulation, loose contacts, or an unapproved repair.
5. Put the suit on and verify fit
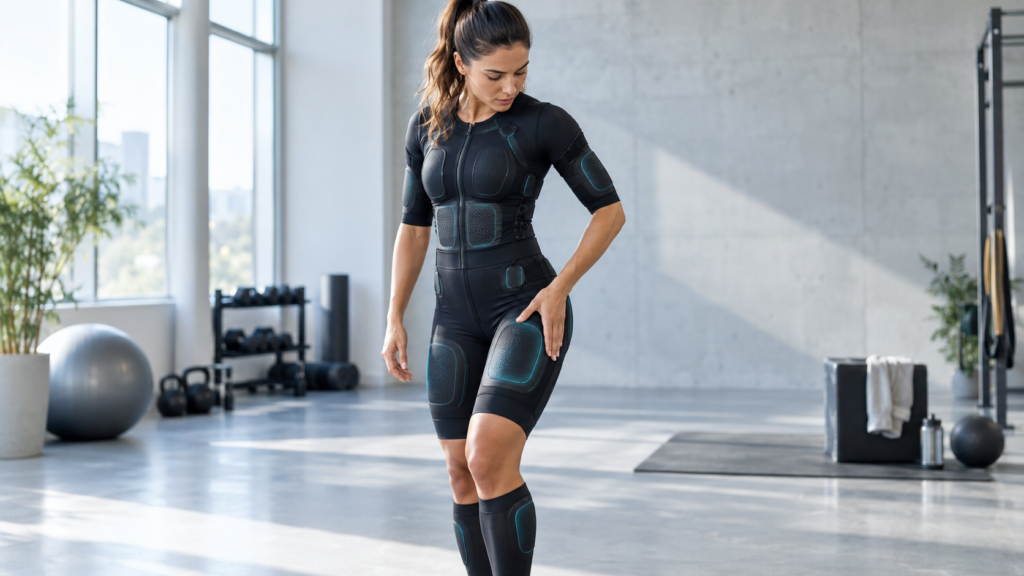
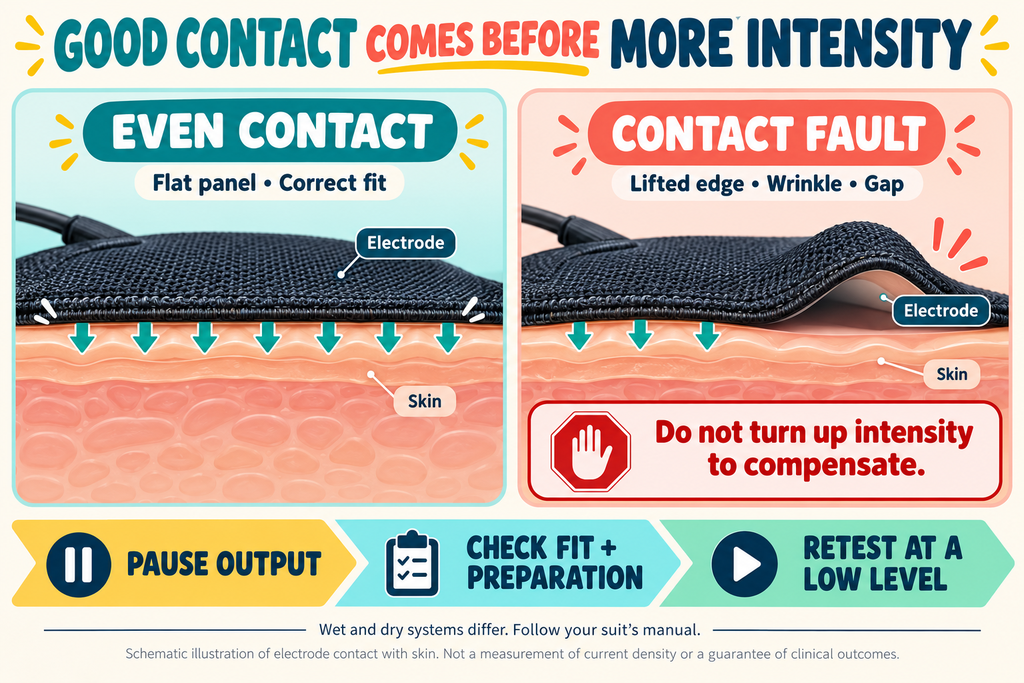
Align each electrode with its intended body region. Smooth wrinkles and confirm the garment remains snug in the positions used during training.
The suit should not restrict breathing or circulation. A panel that lies flat while standing may lift during a squat, so perform the session’s basic range of motion with output still off.
6. Prepare electrode contact correctly
Wet systems may require evenly damp electrodes or a damp base layer. Dry systems use a different interface. Apply only the method specified for the product and keep moisture away from ports and electronics unless the design explicitly allows it.
The conductive textile electrode guide explains why compression and moisture affect the interface.
7. Attach and power the controller
Confirm adequate charge, intact housing, normal temperature, and a clean, dry attachment. Seat the controller fully without forcing it.
Open the official app, select the correct user and suit, and verify the program before starting. Resolve any error or pairing problem rather than dismissing it.
8. Check the training space
Clear trip hazards and provide enough room for every movement. Keep away from water, uncontrolled heat, and environmental conditions outside the device rating.
The phone or controller must remain accessible. Do not place the stop control in a pocket, locker, or position that cannot be reached during stimulation.
9. Test stop and pause controls
Before raising output, confirm how to pause and stop from the controller and app. A professional setting should also have a documented emergency process and staff who know it.
Do not begin if the app and controller disagree about session state or the stop function is unreliable.
10. Run a low-level contact check
Start the correct program at its lowest permitted setting in a stable stance. Increase one zone at a time only enough to confirm broad, even contact.
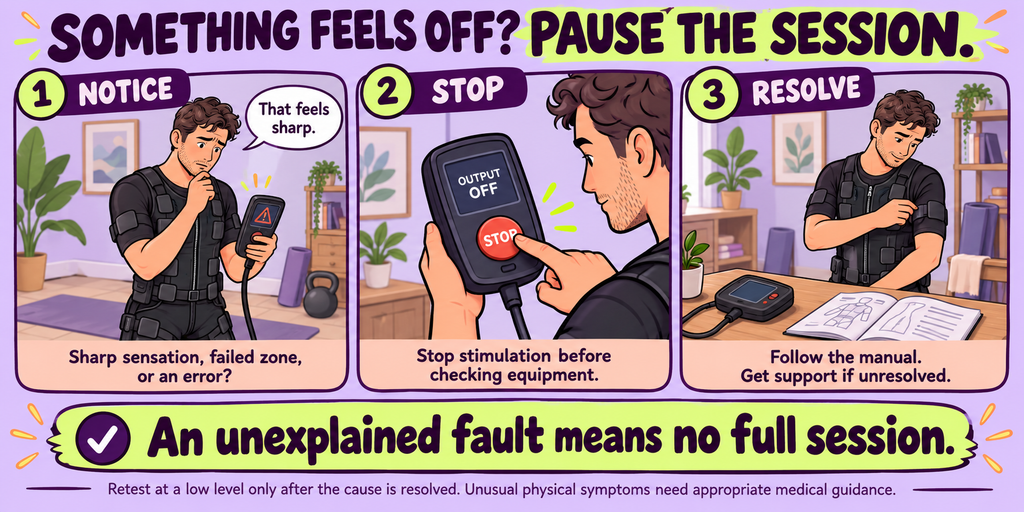
Stop for:
- Sharp or burning sensation.
- A dead or intermittent zone.
- Unexpected channel timing.
- Controller movement or disconnection.
- An error code.
- Any unusual physical symptom.
Correct the cause before continuing. Do not overcome a contact fault with more output.
A compact pre-session checklist
- User eligible, well, recovered, and appropriately hydrated.
- Skin suitable for electrode contact.
- Suit clean, dry, intact, and correctly sized.
- Electrodes aligned and prepared as instructed.
- Controller charged, undamaged, and secure.
- Correct app, profile, suit, and program selected.
- Training area clear.
- Stop control immediately accessible.
- Low-level contact test even in every active zone.
Frequently asked questions
Does the suit need to be tested before every session?
A brief check is worthwhile because moisture, fit, battery, connectors, skin, and user readiness can change between sessions.
Should I test at my normal workout intensity?
No. Confirm operation at a low level in a stable position, then follow the program’s gradual adjustment process.
Can I use a suit that is slightly damp from washing?
Only if the manual explicitly permits that state. Drying requirements protect fabric, connectors, electronics, and hygiene.
What if one zone fails the check?
Keep it at zero, inspect fit and contact, and follow official troubleshooting. Do not start a full session with an unexplained fault.
The practical takeaway
The safest time to find an EMS problem is before the workout. Check the person, skin, suit, electrodes, controller, space, stop function, and low-level zone contact in the same order every time.
A pre-session check should be quick but never rushed. Any error, damage, sharp sensation, or unreliable control pauses the session until it is resolved.
Pair the equipment check with the EMS session stop criteria so the operator knows what requires immediate shutdown after training begins.